
How Trimlight works
Measured. Installed.
Ready every night.
A straightforward path from property-specific design to clean installation and a complete app walkthrough.
Step one
Free design and written quote.
We evaluate the property, confirm the service area, measure the proposed lighting run and discuss how you want to use the system. Channel, spacing, zones, access and control placement are considered before the scope is priced.
- Roofline and access review
- Channel and spacing options
- Written property-specific proposal
Step two
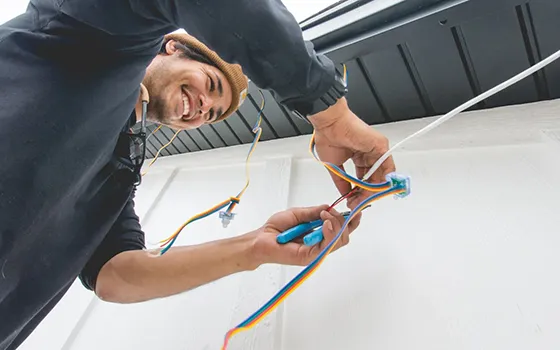
Professional installation.
The channel is cut and fitted to the structure, wiring is concealed and each zone is tested. The installation team protects the property and leaves the work area clean.
- Color-coordinated channel
- Concealed low-voltage wiring
- System and zone testing
Step three
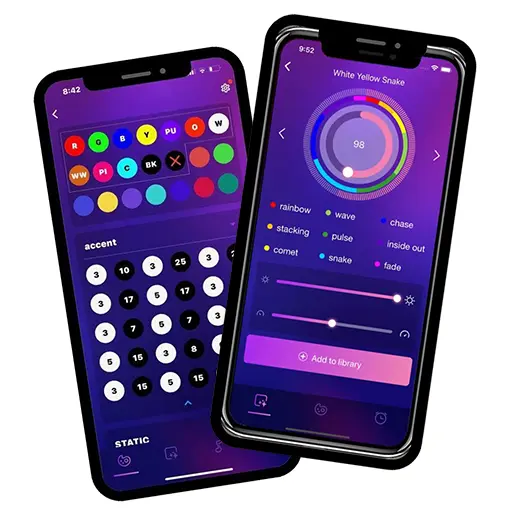
Control it with confidence.
Before completion, we help connect the app and walk through colors, scenes, zones, brightness and schedules. You leave with a working system and a practical starting setup.
- App connection
- First saved scene
- Schedule and support guidance
Project inspiration
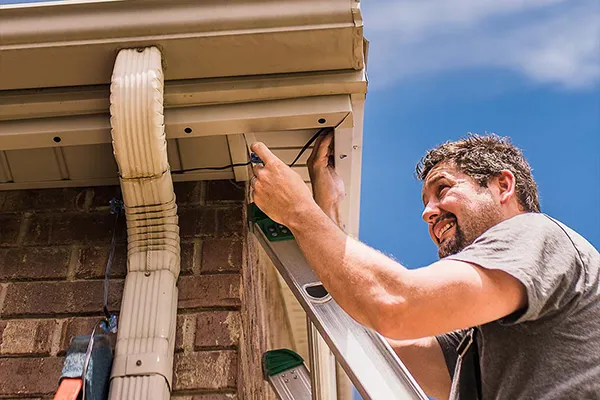
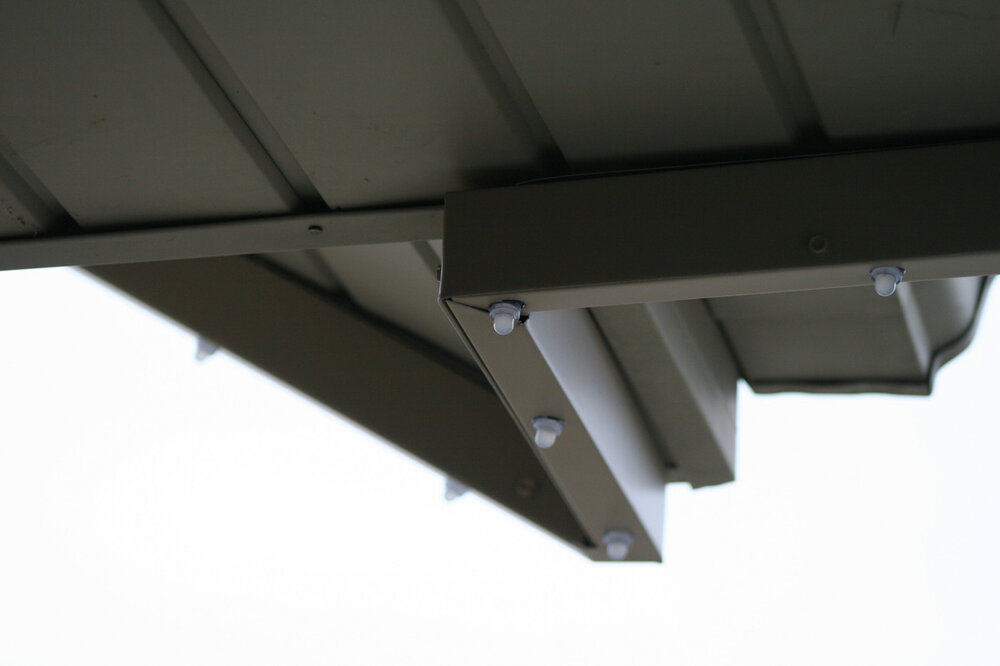
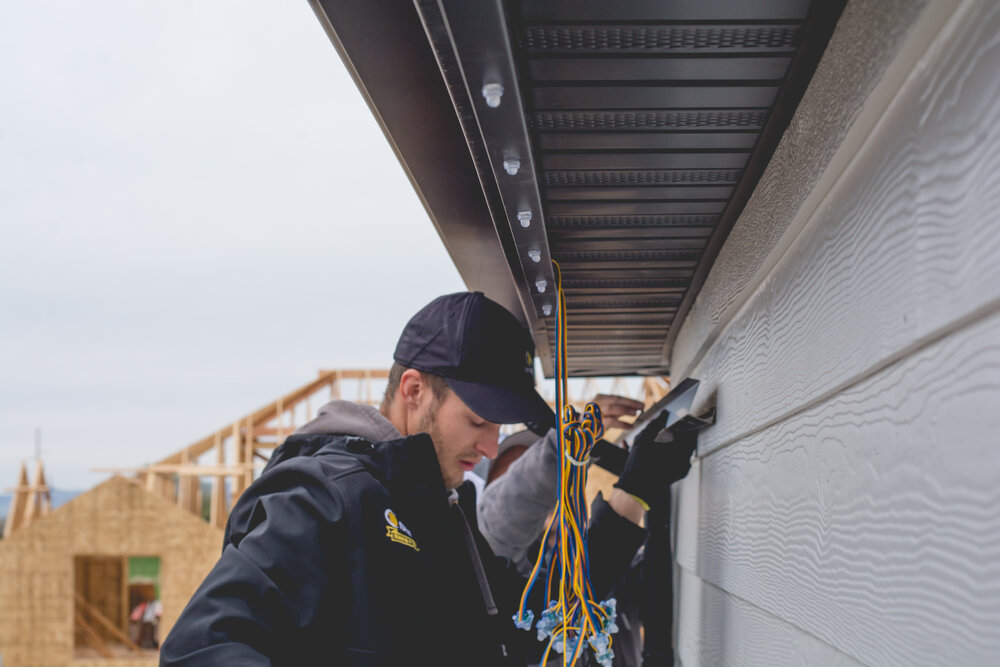
The details behind a clean installation.
From measured fascia and concealed wiring to app setup, each stage contributes to the finished result.
Common questions
Answers before the estimate.
Have a property-specific question? Call or text the local team.
(619) 914-0048 ↗How long does installation take?+
Timing depends on measured footage, access, roofline complexity and project scope. Your written proposal includes the project-specific schedule.
Do I need to be home for the estimate?+
Exterior measurement may be possible without you, but having a decision-maker present is useful for design, app and scope questions.
Will I receive a written price?+
Yes. The purpose of the design visit is to give you a clear property-specific scope and price before you decide.
Your property after dark
See what permanent lighting could become.
Free property-specific design. Written price. No pressure.